By Sunday Lamdin
There are many beautiful patterned papers on the market these days. But often, although beautiful, such papers can be a bit "busy".
However, it is exactly such "busy-ness" that we can use to our advantage. There are many ways to - as I like to say - "let your paper do the talking". Paper with strong shapes on it, such as flowers, can be "gutted" behind where any photographs or matted items will be covering the background anyway, to be used as embellishments.
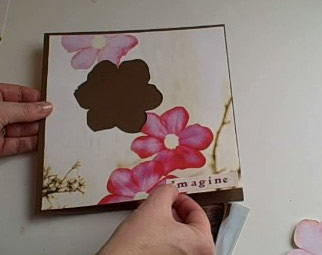
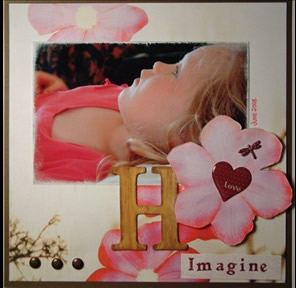
In the picture below, I have cut out one of the large flowers from the background paper where my photograph will be covering the background.
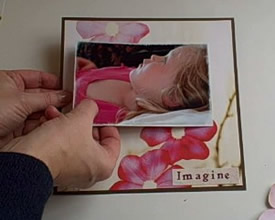
The flower has then been trimmed and I have distressed the edges and added 3D foam pads to add dimension. This has been placed over the bottom corner of the photograph.
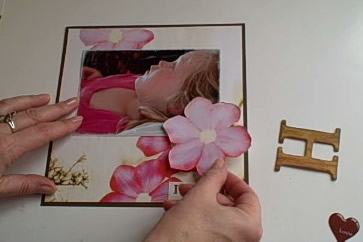
The only other embellishments were a monogram letter, a word sticker, a heart shaped dome sticker and 4 brads... Done! There was enough interest in the patterned paper not to need anything else.
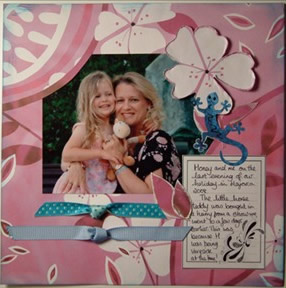
In the example below you can see I have used the same technique to cut out the useable images (flower, leaves and stem) from the background paper. I placed the photograph where I wanted it to be and, holding it down one side, kept flipping it up to see the extent of the area I could cut. You will also notice that I have made use of the natural curved pattern in this paper to cut slits and tuck in my photograph's corners for added interest.
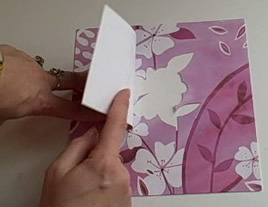
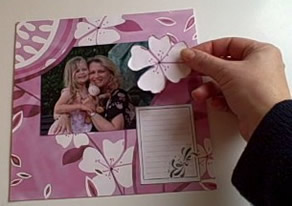
Again, I used the flower that was cut out and layered it over the edge of the photograph, along with the stem and leaves. These were layered over the Journaling block (which is a free download - click the link at the bottom of This Article ). After two ribbons and a sticker nothing else was needed.
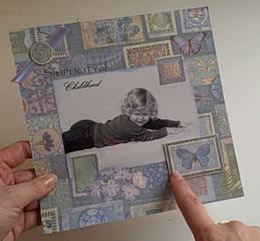
Below, again you can see where I have cut out the images from behind the photograph and stuck them on the front in a similar way to the flowers. And, again, I have cut around some of the images to overlap the edges of the photo too. So apart from the ribbon (top left), the patterned paper is "doing all the work" in this page layout.
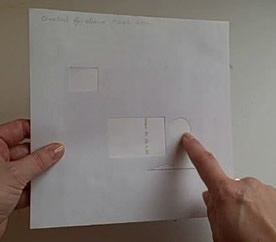
So rather than cut out small pieces from "busy" paper, make full use of the sheet. Paper, photos and minimal embellishments and you're done! Makes for good savings too! Do check out the video
Here are the top two 8x8 layouts finished.
Don't be afraid of using a whole piece of patterned paper! In fact it can practically make a scrapbooking page FOR you!


