Free Downloadable Journaling Blocks |
|
|
|
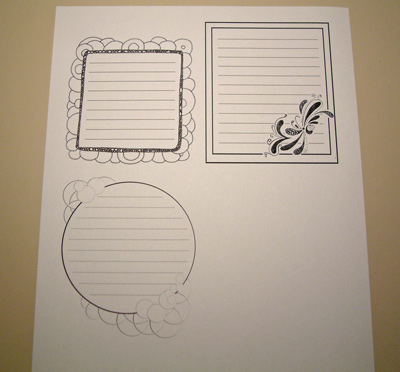
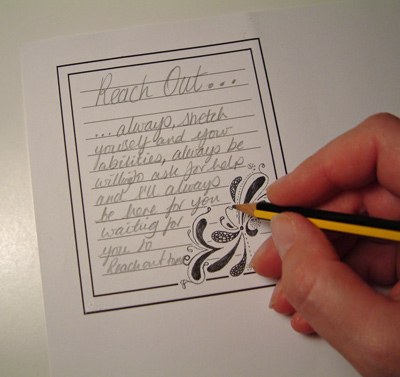
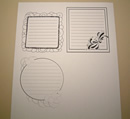
I have been doodling and fiddling with journaling blocks, all in my quest for more hybrid scrapbooking! So I have created THREE journal blocks for you. One started life as one of my doodlings, another as a hand drawn block and the third was completely created using PSE (Photoshop Elements). You will probably be able to spot which is which!
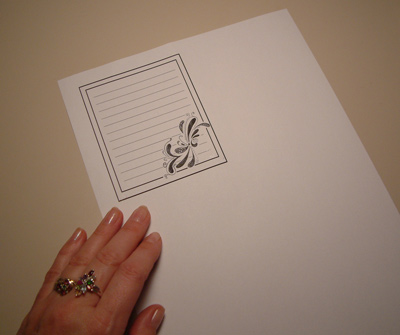
To use these journaling blocks, first download the folder onto your PC. (for instructions and the download link, please go to the bottom of this article). Then print whichever one you wish to use. You can easily drag these files from their folder into something like Word to print out. (as they are just like photos in file type, you can easily reduce their size to fit your layout.
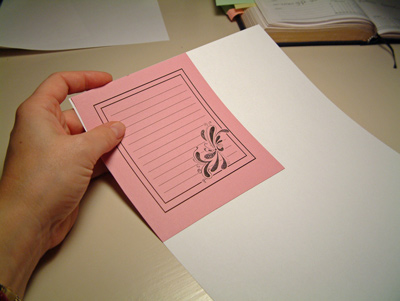
Now this is where the TIP comes for printing on scraps (ie you only have enough to cover the image you want which is too small to put through your printer on it's own). Using repositionable sticky dots (or just very lightly tack with other dots) stick your scrap over the printed image. Put most of your "sticky" on the leading edge, in other words tack the edge that is going into the printer first to stop it "catching" in the printer as it goes around the corners! You don't need to worry too much with paper, but cardstock needs a little extra care. Now, without moving the image onscreen, print the page again.
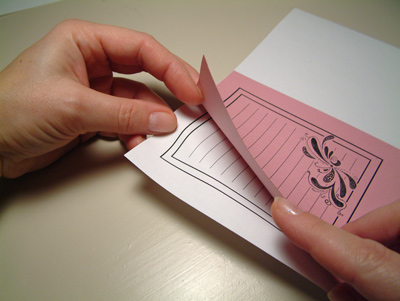
Your scrap should be perfectly positioned (held in place by your sticky dots) to be printed with the image.
Now you can remove the scrap and trim however you like and use it on your scrapbooking layout, OR your greetings card or any other project. Good eh!! And, as you have an extra print of your journaling block (in this instance), you can use it to practise what you wish to write before starting to write on the good printout.
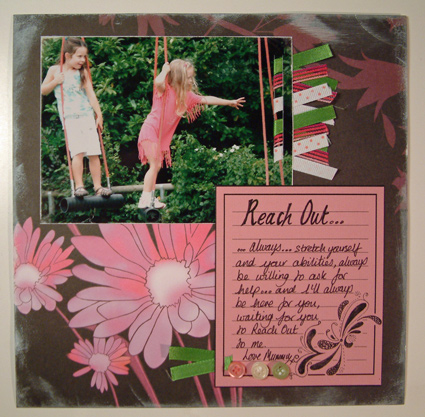
So below is an 8x8 layout I made using the journaling block in the example.
CLICK HERE to download the journaling blocks The link takes you to a sharing website called "4Shared.com". The files are in a folder which is "zipped" (which just means the files have been compressed in size and is normal for speed of transfer). You can use the files straight from the folder when it's on your PC, or you can "extract all" in Windows if you wish (right click any folder icon with a "zip" on it for the "extract all" option to show up). I have saved all three as PNG and JPG files - jpg is the standard format just like your photographs for instance, and a png has a transparent background and therefore can be placed on top of another graphic, whereas jpgs have a white background). I recommend beginners drag a jpg file into Word (or similar) the first time and then print. Email me if you have any problems with this and I''ll be happy to help. I would appreciate a mention should you publish anything you have made which includes this graphic(s) and you are welcome to link back to this page so that others can download the freebie too. |
|||


