10 ways to create Scrapbooking Flowers
or change existing ones
By Sunday Lamdin
There is a huge array of flower embellishments out there in Scrapland... and yet more in "ordinary land", but here are 10 ideas to make more of the blooms you may already have.
Now those left over packs of flowers can be instantly changed in a variety of ways to add interest and thereby making your pages more economical too. And we're all for that, right?
So...
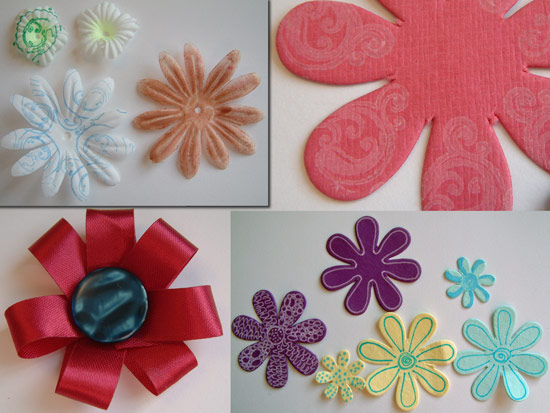
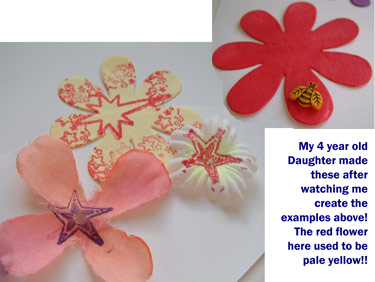
1. Stamp a pattern on plain flowers. Use your inks and any stamp (or part of a stamp) to create a pattern on paper or fabric flowers. If your flower is big enough you could even try a small word stamp. (top of above photograph)
2. A great way to instantly change flowers to match-in more with your projects is to add ink to re-colour them. When in doubt I buy white or cream flowers so that I have the option to colour them to co-ordinate with my layout. (top left of above picture)
3. Use your flower punches or die cut templates to create flowers from patterned paper. TIP: turn your punch upside down so that you can see where the pattern will be on your flower.
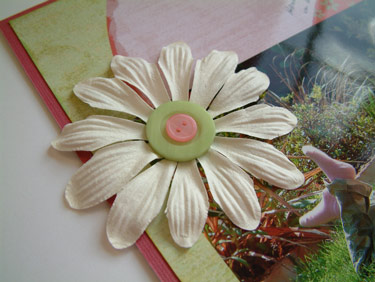
4. There are lots of ways to add interest to your flowers with whatever you use in the center. For instance you can use brads, buttons, eyelets, gems, ribbon bows or mini beads. And you can layer these things such as placing a gem on top of a button, or tying a simple bow (or just a knot) through the button before adhering to your flower center. (double button example above)
5. Paper flowers lend themselves to a bit of doodling! This instantly adds interest to your flowers, and you can place a mixture of plain and doodled flowers on the same layout. (bottom right of above picture)
6. Use some ribbon to make flowers. Loop the ribbon for each petal, secure in the middle with a staple and then cover the staple with a button or similar. An alternative is to make half a flower and then staple that to the side of a photograph or mat. (bottom left of above photograph)
7. Cover chipboard flowers with ink and embossing powder or sprinkle on flocking powder. You can also cover chipboard flowers with glue and mini beads.
8. Use glue and glitter on the edges of petals for a bit of bling, (that’s the traditional way of course, now there are such things as “Stickles”)
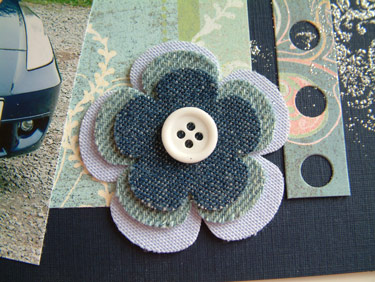
9. Cut out a simple flower shape from a piece of material. It can help to cut out a flower shape from a piece of cardstock first and then adhere this to your material, using it as a template. The cardstock on the back will give support to the flimsy material. You can layer these flowers with smaller ones of contrasting colour. (above)
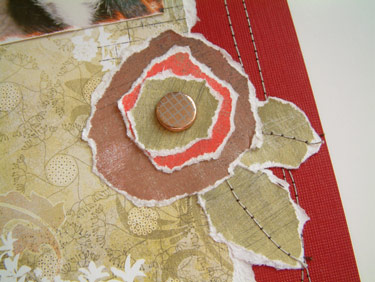
10. Make your own paper flowers by ripping two or three circles of decreasing size and layering for a “grungy look”. (above)
Related article:
Discount Flowers to Scrapbooking Blooms - Video


