By Sunday Lamdin
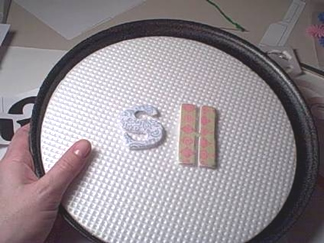 This is a great cost saving idea! Use the polystyrene bases from pizza packaging to create your own chipboard letters and shapes. Saves a lot of money, especially as you can repeat your shapes over and over again.
The polystyrene from the pazza packaging is great because it's very similar in thickness to "real" chipboard letters. A bonus is that the bases are often white or black and better than "real" chipboard which is usually a dull grey and which I end up trying to cover with paint.
So... obviously you need to clean and dry your polystyrene pizza bases first!
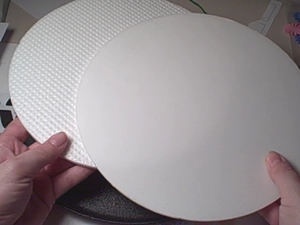
The print out a template for yourself (either letters or shapes) to the size you want.
Cut out the shapes roughly from the printed paper so as to separate them all.
TIP: Set your printer to print in "draft" so that you save on ink!
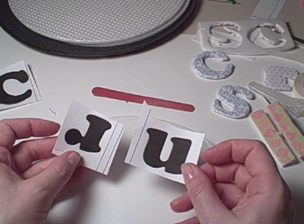
Use some sticky dots to hold the template in place, try to keep the sticky inside the edges of the template so that your tool will not catch on them. Use repositionable dots or just don't press normal ones down too hard so that you can peel off the template easily.
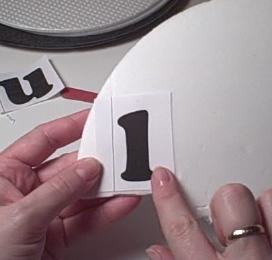
Next use an embossing tool (or something similar such as a ball point pen which had run out of ink).
I use the smallest end on a double ended embossing tool.
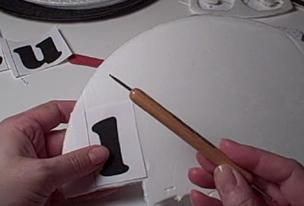
Use the tool as you would to embossing, so pressing lightly, follow the edge of your letter or shape. Polystyrene marks easily so you do not have to press hard at this stage.
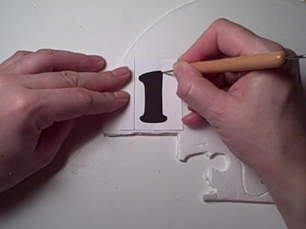
When you have traced the edge all the way around, remove your template to reveal the indentation.
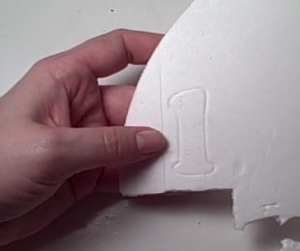
Now use your tool to repeatedly go over your "debossed" line, starting gently and pressing more firmly each time until you break through to the other side. Use a sawing action to go around tight corners, rather than dragging the tool.
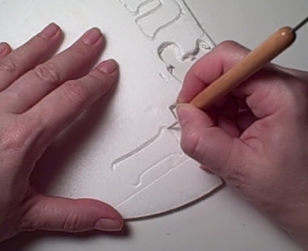
When you can see you have broken through to the other side in most areas,
carefully press out
your shape.
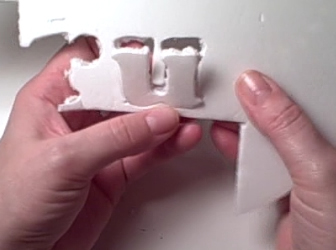
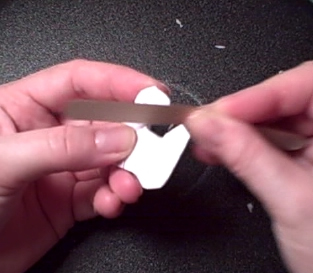
Trim the shape with scissors and an emery board (sand paper). You can also use your smooth embossing tool stem to gently round the edges for a smoother look. However don't worry too much about this if you are planning to cover with patterned paper.
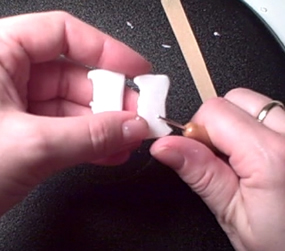
Cut out a piece of patterned paper slightly larger than your shape and glue the whole surface of your shape with a thin layer of pva glue.
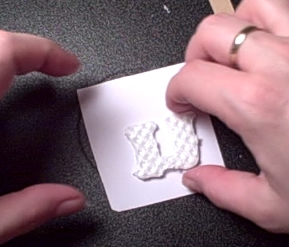
Once the glue has dried, or is at least dry enough that the paper will not slip off the shape, trim the excess paper from around the shape.
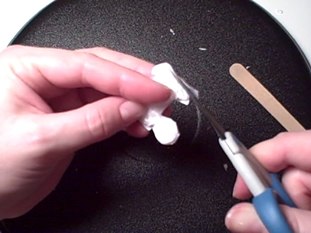
Use the emery board (sandpaper) to smooth the edges of the patterned paper into the shape's edges.
You can use this paper covering technique on "normal" chipboard letters too, of course!
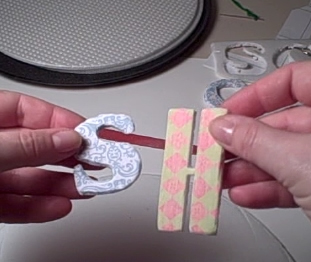
Watch the video below
Don't forget to watch in High Quality - click the "HQ" button


