By Sunday Lamdin
If you want to stick with a small selection of papers for use in say, a mini album, but the pages are looking a bit "samey", then try these two techniques for varying your background paper. These techniques change the paper just enough to add interest, and stay in-keeping with the original papers.
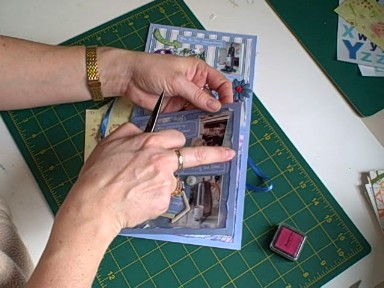
The first technique is to distress the edges. But rather than just tearing or sanding the edges, curl up the edges too to give a shallow but nonetheless effective "frame" to the paper, as I have on the paper in the picture below. This technique can also be used directly on your photograph edges.
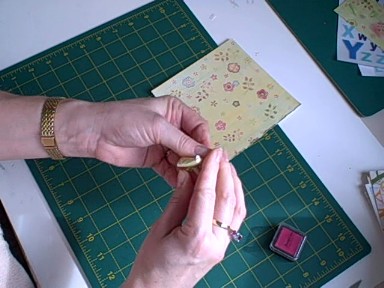
Clasp the paper in one hand pinching the paper very close to the edge, and with the other hand run a closed pair of scissors along the edge. You will get some slight tearing as you go, but you will also curl the edges up.
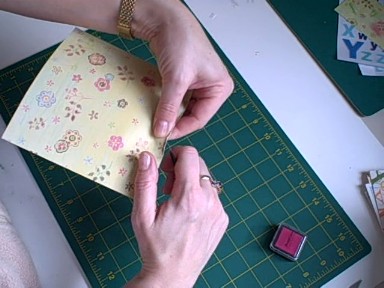
An alternative way is to use your fingerail.
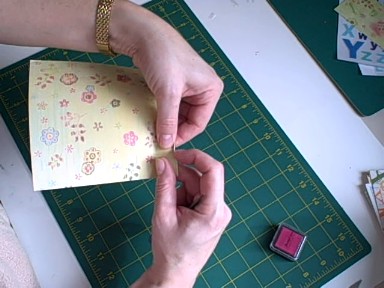
The trick is to keep your fingers on the edge of the paper, if your fingers are not close enough you will just crease the paper further in. If this happens, just flatten out and pinch closer to the edge and continue scuffing up the edge with your scissors or fingernail.
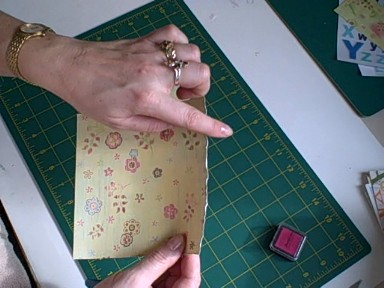
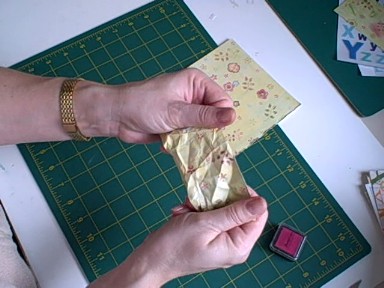
The second technique can be rather satsifying! Take your piece of paper and scrunch it up into a little ball, a really tight ball.
Now unravel it and flatten it out again.
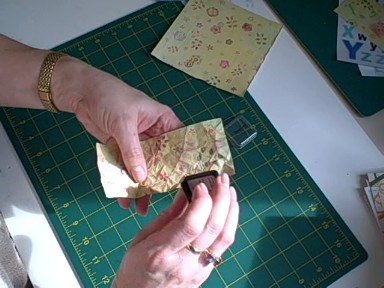
Take an ink pad which compliments the colour scheme and lightly brush the pad over the surface and edges of the crumpled paper. The ink will highlight all the peaks of your crumples and leave the troughs "as is".
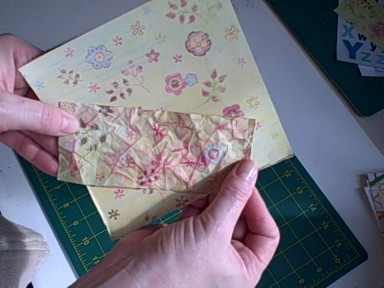
The effect is a "version" of your original paper which has texture and some dimension to it. It's easy and the resulting paper is great for layering with other papers to add interest.
Don't forget to watch in High Quality - click the "HQ" button


