By Sunday Lamdin
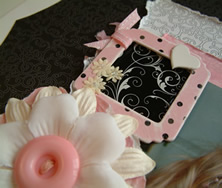 It's a pretty self-explantory term really isn't it, layering?! But many can see other peoples layering on finished pages, and like it, but have no idea where to start to achieve a similar pleasing result.
But what actually is layering? Well as you might expect, it is the layering of papers and elements on a page! Now this is something we do all the time, such as matting photographs.
However, the type of layering I’m talking about here is the sort that gives dimension such as:-
1. multiple mats for a photograph with torn, distressed edges and/or inked edges.
2. making use of a number of different elements together, such as frames, rub-ons, flowers, swirls, all of which overlap.
3. Cut out elements such as flowers from a background paper and layer/overlap them. This gives a feeling of dimension similar to decoupage (but is a much freer expression of it).
It's actually a very easy and somewhat satifying technique! I say satisfying because it's a jolly good way of using up scraps (and Oh how we have truck loads of those!) and odd bits and pieces like the few stickers or brads left in the bottom of a packet... go on, you know you've got some!
Here is an example of the Layering Technique on a 12x12 scrapbooking page (close ups and Birthday card example below).
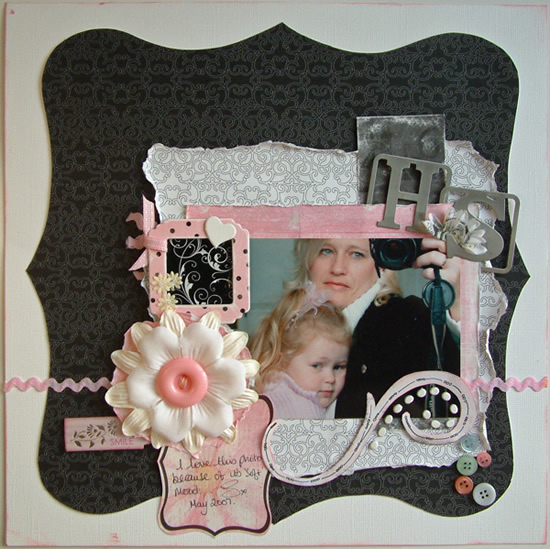
The best way for a beginner (to this style of scrapping) to start is to choose a photo and put together a kit, basically! Pick only a couple of colours to start with, this is why a black and white layout with a touch of colour is a good place to start. But keep things fairly monotone… say mostly blues with a touch of green for instance. Collect various hues of the same colour as layering these subtle differences can make a big difference to the texture of the page.
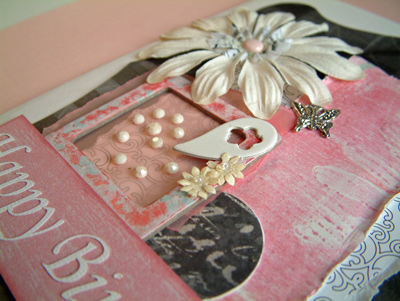
As I mentioned earlier, this is ideal for using up scraps, as you can just layer smaller strips of paper and odd shapes. Hand cut swirls (see second closeup below) and circles and even flowers can all be used to good effect too. The background to the small pink frame is actually a (clean!) pudding pot lid... I think it had a yummy chocolate pudding in it, but I loved the swirl design so kept the lids.
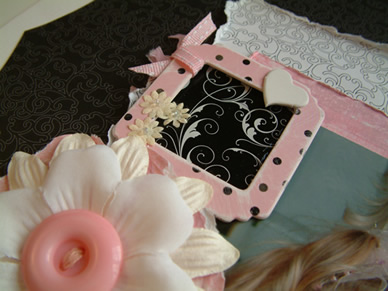
The large flower embellishment here is actually four layers! One rough, torn circle of pink paper with a large cream flower on top with slightly smaller white fabric flower above and topped off with a pink button, and I didn't cheat, I actually sewed all the layers together with the thread you can see!
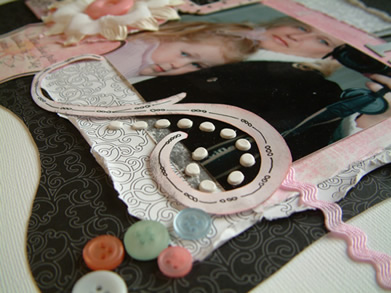
Here is a close up of the swirl. Now, if you want really cheap embellishments then a hand cut swirl from a normal piece of white paper out of my printer can get much cheaper! I added a bit of doodling and some inked edges just to "dampen down" the glarins whiteness and give it some definition. The white dots are left over from a sheet of chipboard paisley designs - effectively using offcuts!
Best thing to do is Start Playing… tearing, distressing, and inking edges, moving items around on your page. The most important thing to remember is to “cluster”. Place your embellishments right next to each other, on top of each other, overlapping, threading through (such as with ribbon). Make use of your 3D foam pads/strips to raise things up, and make full use of your pva glue to fix those more bulky/heavier items such as buttons.
.jpg)
Here I used the left overs fro the layout above to make a birthday card.
You can do this for cards too. Gather the same items together and just layer the papers, cluster the embellishments (say... over to one side for an asymmetrical look and then add the greeting if you want to… et voila!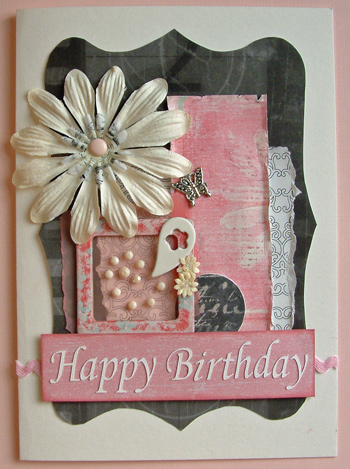
I'll let you into a secret about the scrapbooking layout at the top of this article... it's actually a multi-photo layout! Oh, yes it is!!!
Can you guess where the other photos are hiding? Well have a guess and then click This Link to take you to the blog post which will show you where they are!


